Showing posts with label freebie. Show all posts

Thursday, January 26, 2012

state of the art [part 2]

a while back, i designed some graphic art prints for our guest room. after framing them in ikea frames, i finally got them up on the wall. though i'm not quite ready to reveal the full room yet...you can let your imagination run.

[yep, the light switch is wearing a mustache + spectacles!]
you've seen the chevron rug i made.


now the art.

each state is a shout-out to family who'll likely be sleeping there the most.

california...

arkansas + texas...

ohio...

want the art? you can download it here for free.

full reveal coming soon...


Sunday, December 18, 2011

magic reindeer food

when i was little, one of our holiday highlights was putting out the reindeer food on Christmas Eve. every year, Mrs. Gidley would deliver the magic mix to our porch, and we 3 girls were delighted to get to sprinkle it on the lawn. part of this excitement may have stemmed that this brown paper bag had likely been touched by Mrs. Gidley's son, who was SOOOOOOOO cute. cute boy aside, the reindeer food was always a favorite thing.


after we'd open our Christmas PJs on Christmas Eve, we'd put on our slippers, bundle up, and sprinkle the mix on the front yard to make sure Santa's reindeer had a snack while he was so busy unloading our loot. then, we'd argue over who got to color which part of the reindeer.


Mrs. Gidley's mixture consisted of hay and glitter packaged in a brown paper sack, and it always had a hand-drawn reindeer picture for coloring. apparently, glitter isn't bio-degradable, so i had to adjust the mix to be environmentally friendly and all. but the packaging stayed the same.

Ingredients:
Oats - duh, reindeer LOVE oats
Colored sugar - creates the "magic" sparkle to help the reindeer find your house
Cypress fronds - gives it a Christmas-y smell to help the reindeer know it's safe to eat


Instructions:
Evenly disperse the oats among the dozen or so bags (about 1/3 cup each). Sprinkle sugar crystals into each bag. Top off with some cypress fronds (I salvaged mine from the porch where my garland was shedding). Give it a shake.

Fold over the top of each bag + staple the coloring label onto the front. I stamped each one with our name so folks knew where they came from, too.


You can download my coloring labels here. 2 will print per page, and they fit perfectly onto the average brown paper lunch sack. If you're distributing to a household with siblings, you may want to tack on enough coloring labels for each child to avoid a small war.

The label's poem reads:
Sprinkle on your lawn at night
Rudolph's nose will make it sparkle bright.
As Santa's reindeer fly and roam,
This will guide them to your home.

Drop them off to your friends + neighbors with school-age kiddos the week before Christmas.

Monday, December 12, 2011

cinnamon honey butter gifts


my mom has long given her friends + neighbors homemade roasted garlic butter as holiday gifts. it's delicious on every.thing. and fills the house with a wonderful garlicky aroma when she's roasting like 20 cloves at a time.

since i'm not much of a baker (and when i do bake, the treats don't last very long), i thought i'd follow in my mom's footsteps + whip up some flavored butter as gifts this year. whip up, get it?

i found this recipe from ina, and figured i couldn't go wrong. the cinnamon + honey flavors just scream holiday time to me. i knew this would be perfect for family gatherings around the holidays: french toast on Christmas morning, smeared on warm rolls, used to ice cinnamon rolls, or even used to make cinnamon toast.

as usual, i altered the recipe a tad. here's the recipe to fill 1-dozen 8-oz mason jars. i actually had enough to fill 2 additional 4-oz jars.

ingredients:
3.5 pounds of unsalted butter, room temperature (each stick of butter is 1/4 pound, so 14 sticks)
2.5 cups + 2 tablespoons of clover honey
3.5 teaspoons of cinnamon - i used roasted saigon cinnamon for a richer flavor
1.75 teaspoons of kosher salt
heavy whipping cream, about .5-1 cup
12 8-oz jelly jars, with lids


instructions:
blend butter using mixer's paddle attachment until no longer in large chunks.


add honey, cinnamon and salt into mixer's bowl until well blended. blend on medium speed until smooth.

add cream until desired consistency. the more you add, the creamier it will be. the less you add, the firmer it will be. it's really a matter of preference.

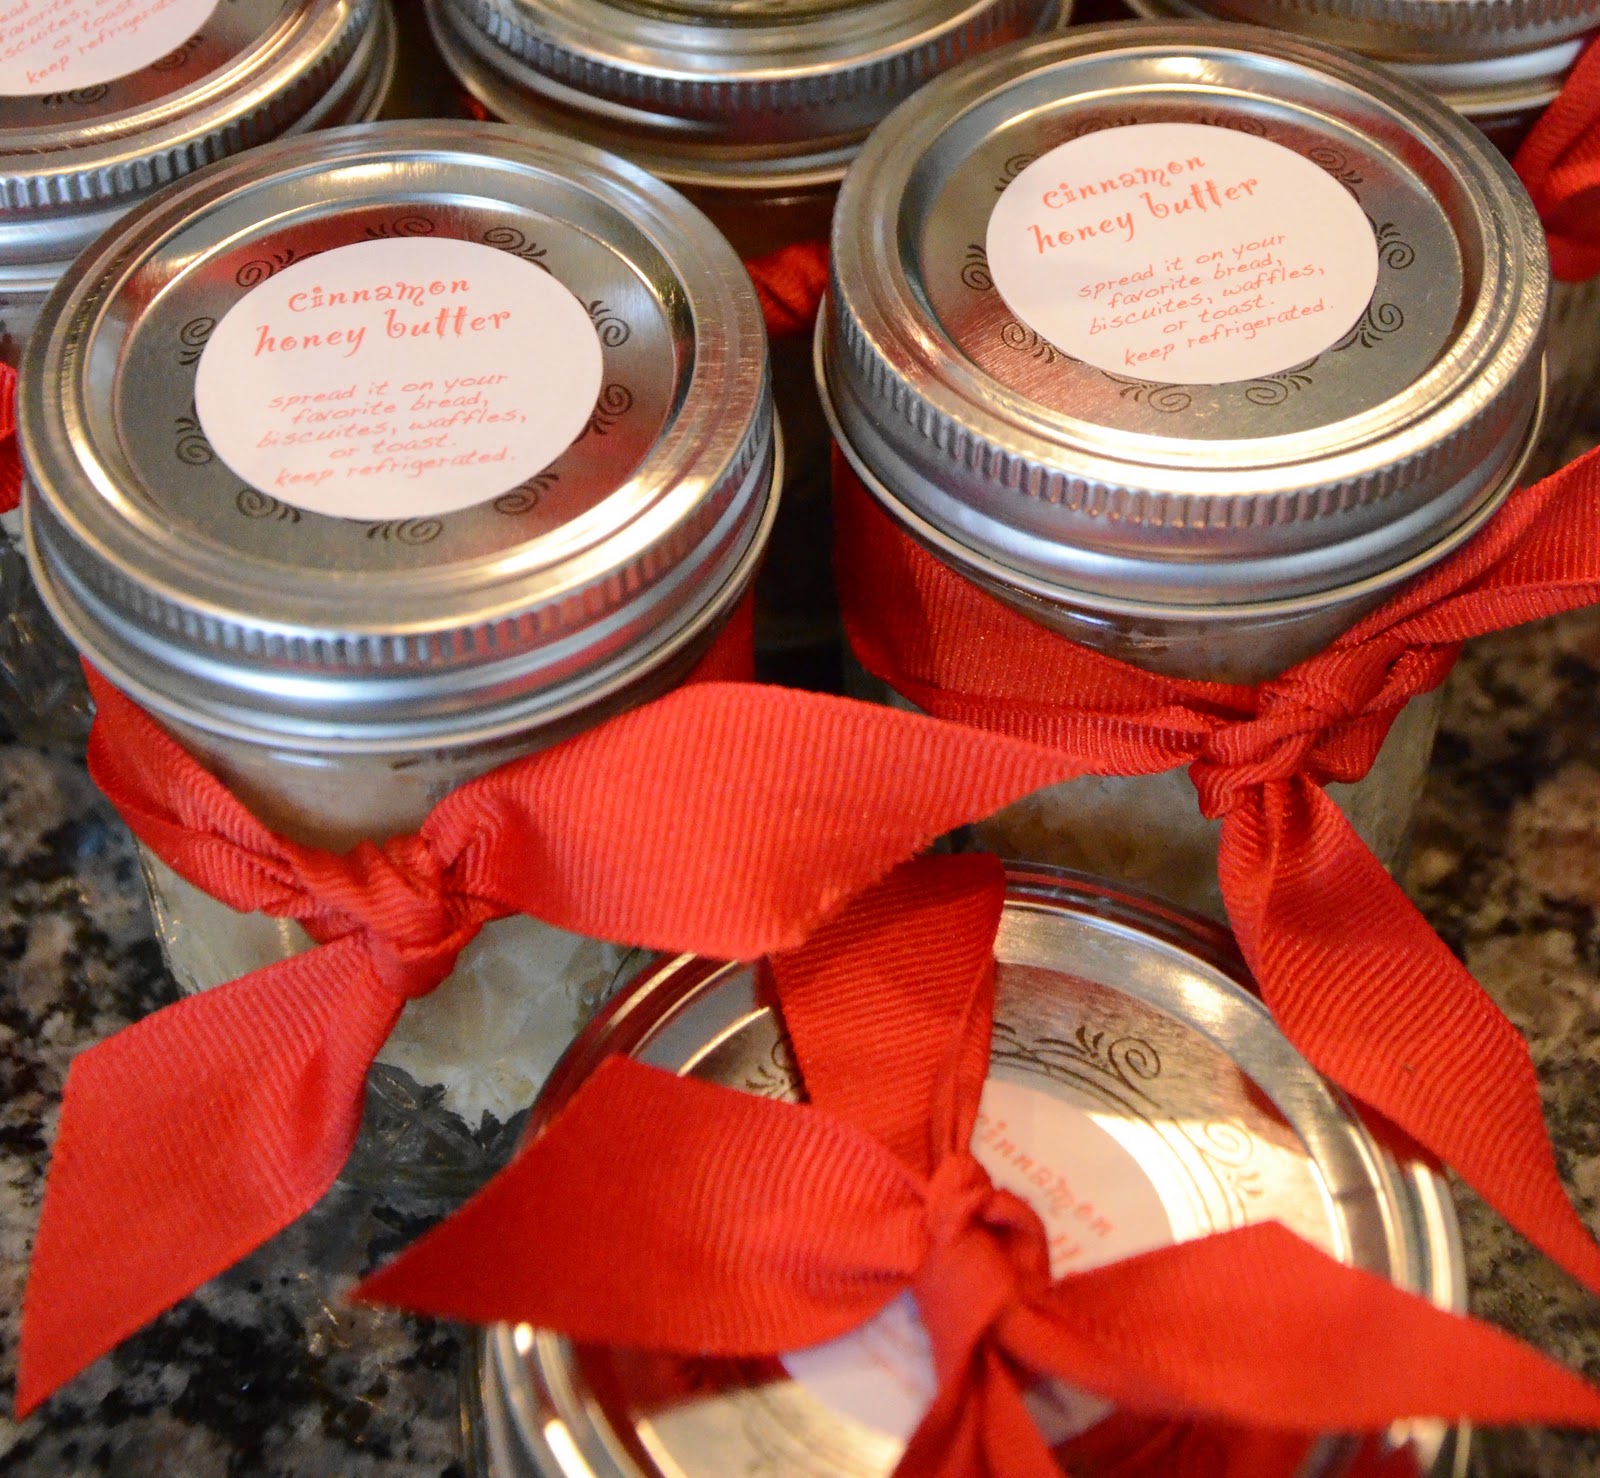
once it's creamy enough for your liking, spoon into jars, approximately 3/4 full. place lids on the jars, affix label, tie on your ribbon, and refrigerate. it's a very yummy + very inexpensive gift for the holidays!

i created little labels for my jars and printed them on 1 1/2" round labels from Avery (item #8293). i had the labels available for download, until i realized i'd misspelled the word "biscuit." shame, shame, shame. i've actually already gifted a few, so i'm just gonna go with it. please don't tell Teacher Sis.
[i misspelled BISCUITS. that makes it more personal, right? geez. i'm ashamed.]
would love to know what you try the butter on this holiday season!! and check out the other holly bloggy christmas parties across blogland:


Saturday, November 26, 2011

diy pecan placecards

since we expanded into a second table for thanksgiving, i was trying to come up with a unique placecard option for the table. i always like to bring in some natural elements for the table, but i was having a hard time figuring out something to coordinate with the brass, silver, bronze, and cranberry palette.

as you may have learned, our beagle has quite a hankering for chasing the chipmunks that have moved into our backyard. these critters have set up house in the small brush pile at the back of our lot. see that hole? that was made from lula's head. i guess she was trying to get up close & personal with Alvin, Simon, & Theodore. you should have seen her face when we pulled her out of it. filthy.

[lula's hole in the brush pile]
so anyway, i went to grab a shot of the infamous hole with the new camera. walking through the yard, i was cautious to avoid dog poop since we hadn't mowed in a while. and what did i look down and see? literally right under my foot?

[my find underfoot]

these amazingly gorgeous pods that had fallen from the neighbor's pecan tree. and they were EVERYWHERE! shaped a little like a lotus flower, these multi-pronged shells have a rustic yet elegant appeal.

[fallen branch with a pecan pod still in tact]

i gathered as many as i could carry and took them inside for a rinse in the kitchen sink. i let them dry on a wire rack for a few hours.

once dried, they revealed some incredible textures + natural tones. i had thought about dry-brushing them with a little gold paint, but no need.

i printed out names on card stock, cut the names into strips, and placed the pods on the tables accordingly. each was different & unique, just like our guests. some were single pods, others in pairs or trios or quads. some still had pecans in them.


Wednesday, October 19, 2011

state [of the] art, part 1

to add a little punch to our guest room, we wanted to add some pops of color. inspired by a blog post that referred me to a now-closed etsy shop, i fell for the idea of personalizing some graphic art prints of various US states. (i can't remember where i saw the inspiring post, sorry about that.)

since most of the folks using that room would be our family, we thought it'd be fun a fun way to make the room feel a little more like home. because i prefer collections in odd numbers, we picked the following five states:

arkansas: where my parents both currently live & my hometown
california: where Zenn [cricket's brother & sis-in-law] live
georgia: where we live, duh [and later realized no one would be using this room from here, so we scrapped this frame when we ran out of wall space]
ohio: where Hippie Sis + new hubs The Professor are saving the world, one water molecule at a time
texas: where Teacher Sis lives, shaping the future of America

i picked up 5 Ribba frames from Ikea, with aluminum frame & white mattes, for $17.99 each. the interior matted space is 11.5" square, so perfect for a 12x12 print.
[ikea ribba frame @ $17.99ea]

i played with the idea of using punch scrapbook paper as the background and cutting out solid shapes of the states. this would make them easily interchangeable if anyone decides to move elsewhere. but the scrapbook paper gods weren't on my side when i was shopping for the right mix of pattern + color, so i busted out photoshop to create the "custom" art. a little clip art & a few tutorials later, art was complete.

i shipped it off via the interweb to a print shop. a few hours and $3/each later, i popped them in the frames. determining the wall placement will be the hardest part. for now, they're just laid out on the bed. they'll make it to the wall eventually. as will the bird plates.

if you happen to have folks in the same states, or just a fondness of these particular places, you can download the art files here. i'd love to see how you use them!

arkansas
california
ohio
texas

the finished product reveal, coming soon.

Tuesday, February 1, 2011

a sweet valentine treat

as valentine's day approaches, here's a freebie download from li'l chick over at fresh chick design studio. how cute are they. i'm lucky to have too valentine's: lula dog and cricket. at least only one of the snores. the other is quite handy. i'm truly blessed to have them both shower me with kisses regardless of my ideas-turned-sketches-turned-nags for projects and my laziness at giving belly rubs. head on over to her blog to download the adorable print-at-home notes. if you like what you see, more is available on her etsy shop!